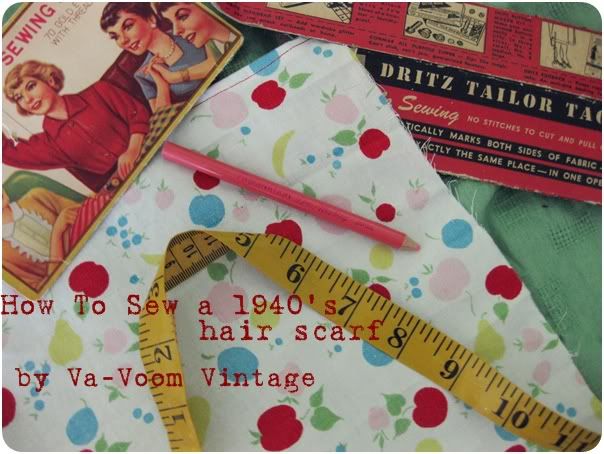
Hello everyone! This is Brittany from Va-Voom Vintage here, to show you how to sew a 1940's hair scarf. I am so excited to be a part of the guest blogging series while Stephanie is on vacation!

This is a great project to use some of that scrap fabric in your stash. You can use pieces of vintage sheets, feed sack, table cloths and other household linens. Today's tutorial uses shirring. Shirring is very easy to do and looks fantastic!
For my scarf, I'm using a scrap of vintage cotton but you can use all sorts of fabric as long as it's light enough to shirr. I tried to use a very thin clear vinyl to make a rain bonnet but sadly, the plastic didn't want to cooperate.
Supplies
22 inch by 13 inch rectangle of fabricelastic thread (I'm using Gutterman elastic thread in black)
matching or contrast thread (which will appear on the right side of your fabric)
40 inches of ribbon of your choice (I used a strip of pink satin bias tape from my stash)
a sewing machine
scissors
an iron
sewing pins
Begin with your fabric 22 inches long and 13 inches wide. You can use a thinner piece of fabric to make a basic headband but this wider piece will create a little pouch to hold your hair when you're finished.

Make a hem on each long side of the fabric. Turn the hem under 1/4 inch and press. Turn 1/4 inch once more, pin into place and sew.


Wind elastic thread by hand around your bobbin. It sounds like tedious work but since the elastic is thicker than regular thread the hand-winding goes pretty quickly. Be sure to keep a slight tension on the thread as you wind but be careful to not pull it tightly.

Insert the bobbin and thread the machine as you would with any other thread.

Using a fabric marking pen or pencil, mark the right side of fabric. Draw dotted lines 1 1/2 inches apart from each other along the long edge of the fabric. If you want your scarf to be more tightly shirred, space the lines closer together.

Using the markings as a stitching guide and with the right side up, sew a straight line through the first dotted line.
Sew the remaining lines of shirring, pulling the fabric so it lays flat as you sew. This way, the shirring will be tidy and the amount of gathers will be even. As you sew more lines of shirring, the fabric will gather more.

The elastic thread should be on the wrong side of the fabric. Trim all loose threads

Turn in the hem of the short sides, again 1/4 inch. Pin and sew, trim loose threads.

Next, set your machine to the long stitch setting to make gathers

Sew a straight line along the short edge of the fabric at about 1/4 inch from the edge, leaving excess threads long. Repeat on the other side.
Pull the bobbin thread to make a gather. Gather each side of the fabric as tightly as you can and tie the loose threads to secure the gathers in place.

Snip your ribbon in half. On wrong side of fabric pin one piece of your ribbon like so:

stitch into place, trim loose threads.
Flip the ribbon to the other side, pin in place and sew. Trim loose threads.

.
Attach ribbon on the other side in the same manner. Trim all loose threads and enjoy your new head scarf! If you have any questions, just ask!
Thank you to Stephanie for having me. I can't wait to see pics and hear all about your vacation when you come home!!


Would it be ok to sew this all by hand?
ReplyDeleteI've never tried shirring by hand before but apparently it can be done! Here's a link about how to do it http://www.ehow.com/how_8235298_make-shirring-hand.html
DeleteThat's so cute :D
ReplyDeleteOh my goodness, that makes me want to pull out my sewing machine and dive into my scraps of feedsack RIGHT NOW! That is an absolutely adorable hair scarf, what a fantastic tutorial. Thanks, Brittany!
ReplyDeleteThese is a neat tutorial. I'll have to try it.Thanks.
ReplyDeleteIt's so cute! I want to run home right now and make 5 of these up. It's a perfect use for old scraps too. Thanks for sharing!
ReplyDeleteWhat a beautiful headscarf *swoon*
ReplyDeleteI am certainly going to have to make one (or many) of these...thanks for the tutorial! xx
wow! this is so awsome! thanks so much for sharing this. I'm super excited and can't wait to get started! wonderful tutirial yo u make it so easy to understand!
ReplyDeleteThis is so adorable and I definitely want to try this with my scrap fabric but I have a question. How do you sew with elastic thread? Will it work in an industrial machine? Do I just hand wind the bobbin, insert it into the bobbing casing, and start sewing, keeping the top layer taught? I would love to learn how to do this...
ReplyDeleteYes! Just hand wind the bobbin, put it in the machine and sew like you would with regular thread! Its very easy to do and Im sureit would wotk with an industrial machine.I kept my thread tension at a notmal setting like I use for sewing coton with all purpose threaf. As long as you keep the fabric smooth as you sew, it will be perfect!
DeleteCan't wait to do this. Thank you!!!
ReplyDeleteThat is so cute!! Perfect for pin curls! Thanks for sharing x
ReplyDeleteOmg!!! Sooo doing this !!! Sooo sweet!! Thanks for sharing!!!
ReplyDelete