One intimidating thing about vintage patterns is that the sizing is different than modern sizing. So let's see how to determine what size you are in vintage patterns!

Vintage patterns are sold normal sounding sizes like 12, 14, 16, 18 and 20 but they are no where near the modern sizes of the same number! Always go by the actual measurements listed on the pattern. While sizes did shift around a bit over the decades a general misses sizing goes like this:
10-28" bust
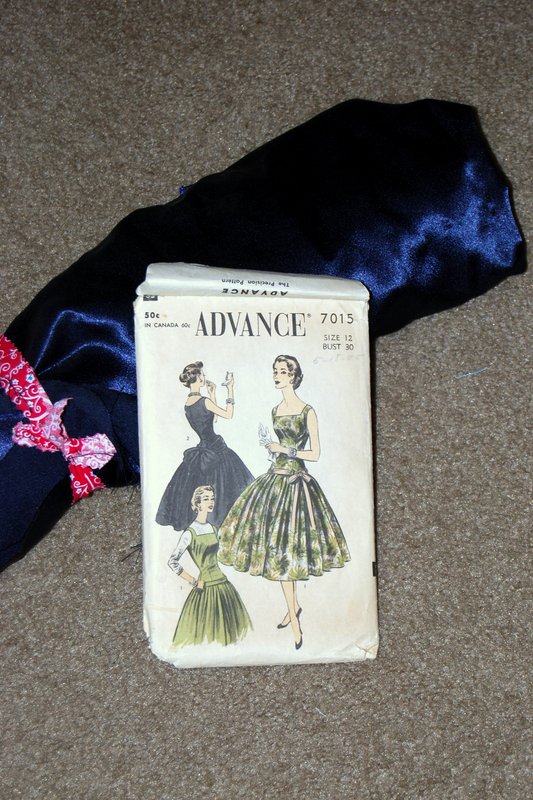
12-30" bust
14-32" bust
16-34" bust
18-36" bust
20-38" bust
Plus sizes are given by bust size so a size 40 is a 40" bust, etc. You may also see half sizes which are the odd numbered bust size and usually have larger waists than the corresponding whole sizes. Always go by the actual measurements though as there were not set industry standards for sizing and they vary by decade.
Now that we've got vintage sizing all figured out, let's see how to figure out what size you are!

Vintage patterns (and indeed most modern patterns) are drafted for a B cup. So if you are a B cup, just measure yourself around the widest part of your bust and match that to the bust size on the pattern.
If you don't happen to be a B cup, never fear! You'll need a simple pattern adjustment to get a proper fit. A cups will need a Small Bust Adjustment (SBA) and C and larger cups need a Full Bust Adjustment (FAB). (Excellent tutorial from Colette Patterns here) To find your vintage size, measure your high bust which is under your arms and over your bust, catching as little bust tissue as possible. Use this number to determine your vintage size.

For example, my bust measurement is 37". My high bust measurement is 33". Since I fall between 32" and 34", I can use either size as my base pattern. Or a 33" if I can find it. They end up being super tiny in the waist and hips but fit in the shoulders. Shoulders are a hard area to find so that's a good place to have fit right out of the package.
So, if I use an 32" bust pattern, it comes 32"-26"-35". I want my waist to end up at 30" so I'll need to add 4" to the waist. A 0.5" FBA adds 1" to the waist and hip. The last 3" I'll split between the 2 side seams. Each seam has two pieces so I'll add evenly to the four edges. Each piece will get 3/4" added to it. Don't forget to add to the waist of the skirt too! A usually add 1/2" to the center front seam on the skirt to match up the added waist line of the top from the FBA. Do the same process with the hips for a fitted or a line skirt. Full skirts are usually good to go.
Needless to say, I trace all of my vintage patterns onto tracing paper and make these adjustments to the traced copy.
Ok, so what if you fall in love with a pattern that is not your size? Or what if you're size isn't widely available in vintage patterns?

Don't fret! Vintage patterns can be resized using a process called grading! It's more work but really you get used to incorporating these pattern adjustments into your sewing process. Casey of Elegant Musings has an excellent series on pattern grading. Check it out: Part 1, Part 2, Part 3.